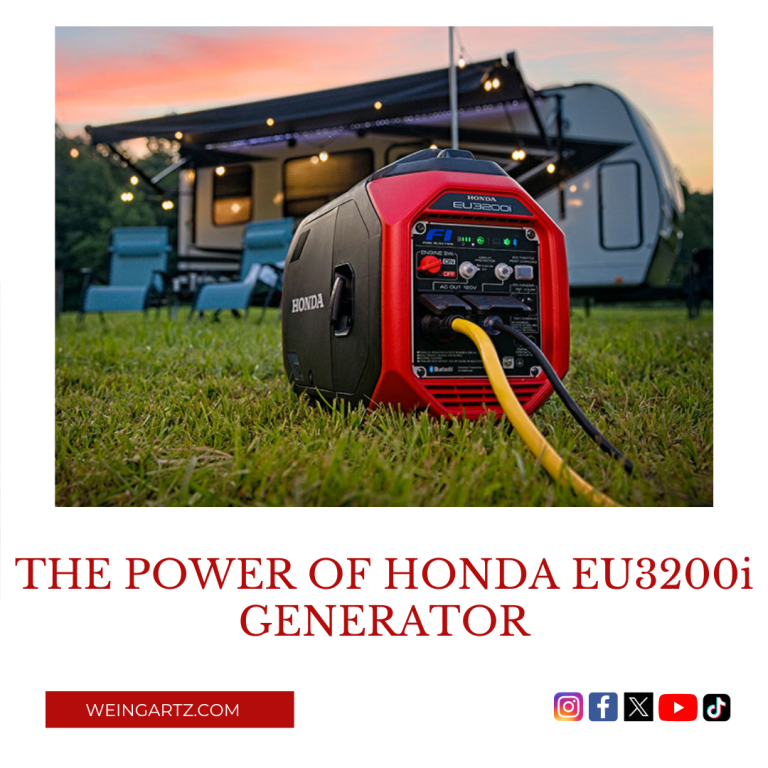
If you expect your generator to be up and running when you need it, performing proper maintenance is important. Changing the air filter plays a huge role in extending the lifespan of your machine. A properly maintained air filter will help prevent dust from entering the engine. If dust enters the carburetor, it can cause unwanted engine wear, as well as starting and running problems. Use our experts’ guide to properly maintain your generator.
Before performing any maintenance on your generator, refer to your owner’s manual for recommended maintenance and safety information. Maintenance instructions vary by model, so depending on your generator model our instructions may vary slightly.
Before performing any repair or maintenance on a generator, follow these safety precautions:
- Turn fuel valve on top of the fuel cap to off – prevents any spilling, any leakage or fire as the machine spills
To carry out this task, you’ll need these tools:
- Flathead screwdriver or Phillips head screwdriver
- Rag
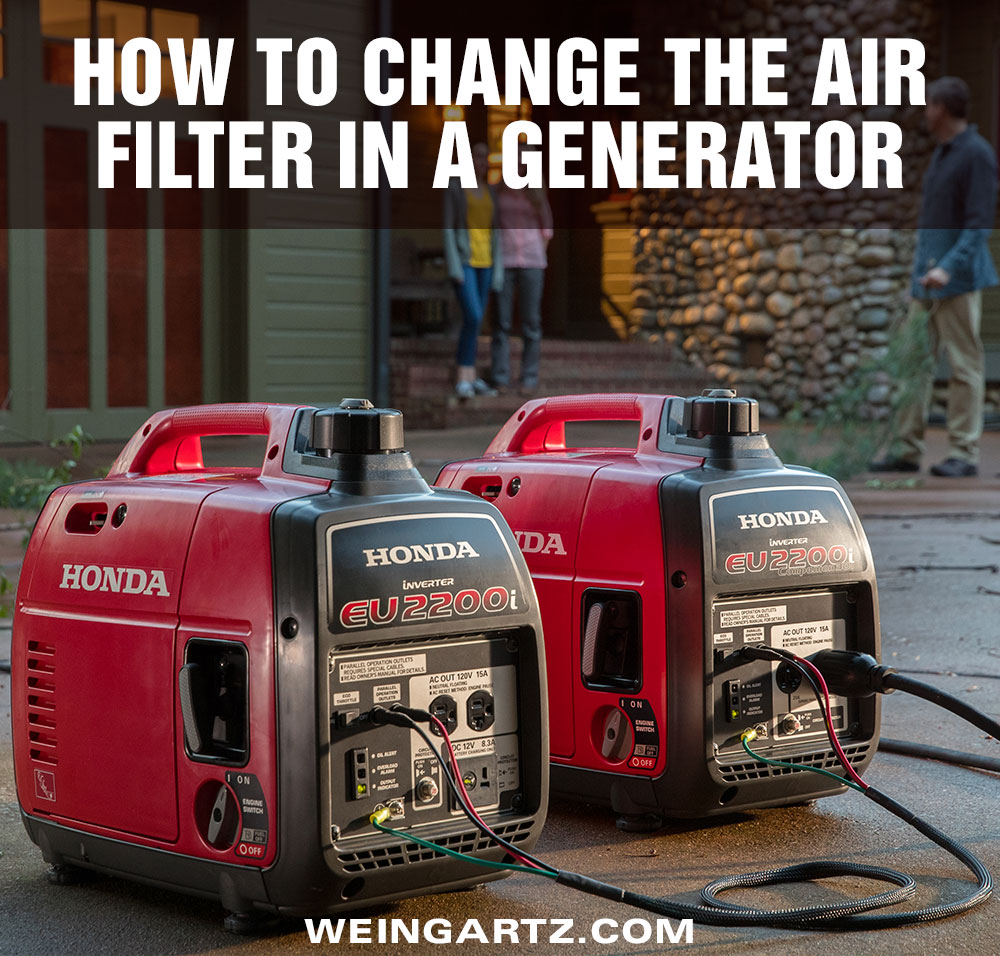
To replace the air filter in a generator, you need to locate the air filter on your machine. On some generator models, there is a panel on the side that can be removed with your screwdriver. On other models, there is no panel covering the filter. If your generator has a side panel, remove it with your screwdriver.
You may encounter another Phillips or flathead screw in the front air filter cover. Use your screwdriver to remove the air filter cover. There are two different air filters – a pre-filter and the air filter. You can clean these filters off by simply dusting them off. You don’t want to blow them off because you run the risk of putting a hole in the air filter cover and sucking dirt into the engine.
After dusting off the filters, simply replace them. Make sure the air filter housing is clean. Use your rag to wipe out any excess dirt that you find inside the housing.
Reinstall or replace your air filters by placing them back in their original spot underneath the air filter cover. Reinstall the air filter cover and use your screwdriver to tighten the screw on the cover.
If you removed the side panel to access the air filter, reinstall the panel. When you reinstall this panel, note that there are two notches on each side. They will slide right into the generator and then you can lift up on the cover. Use your screwdriver to retighten the screw at the top of the side panel.
You May Also Enjoy These Articles:
How to Change the Oil in a Honda Generator
Be Prepared for Storms – How to Choose a Generator
Generator Operation and Safety Tips
Buyer’s Guide to a Portable Generator
Why Weingartz?
Weingartz, family owned and operated, began in 1945 as a farm supply store for local Michigan families. In the 1970s, we began to focus exclusively on outdoor power equipment. Over time, we morphed into the “power equipment superstore” that now defines all of our locations. The staff and experts at Weingartz work diligently to provide the best service possible and give honest and helpful advice to each and every customer.
Weingartz also sells parts for all outdoor power equipment at https://weingartz.com/parts-lookup.
Weingartz
46061 Van Dyke Ave.
Utica, MI 48317
(586) 731-7240
info@weingartz.com
Connect With Us!
https://www.facebook.com/WeingartzLawnToSnow
http://pinterest.com/MrWeingartz
Learn More About Specific Honda Generator Models


Sign up for our electronic monthly newsletter for discounts and money-saving tips.