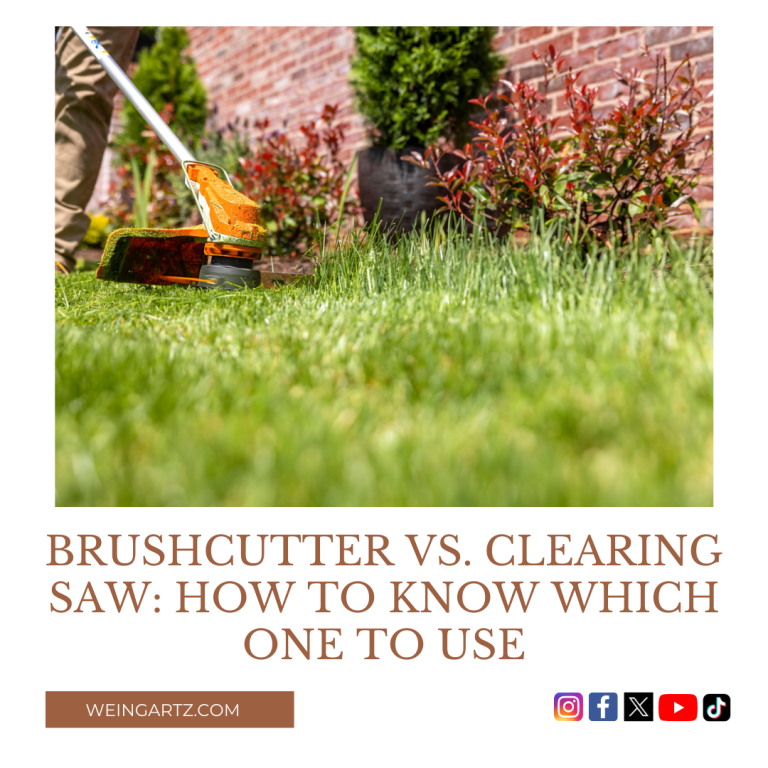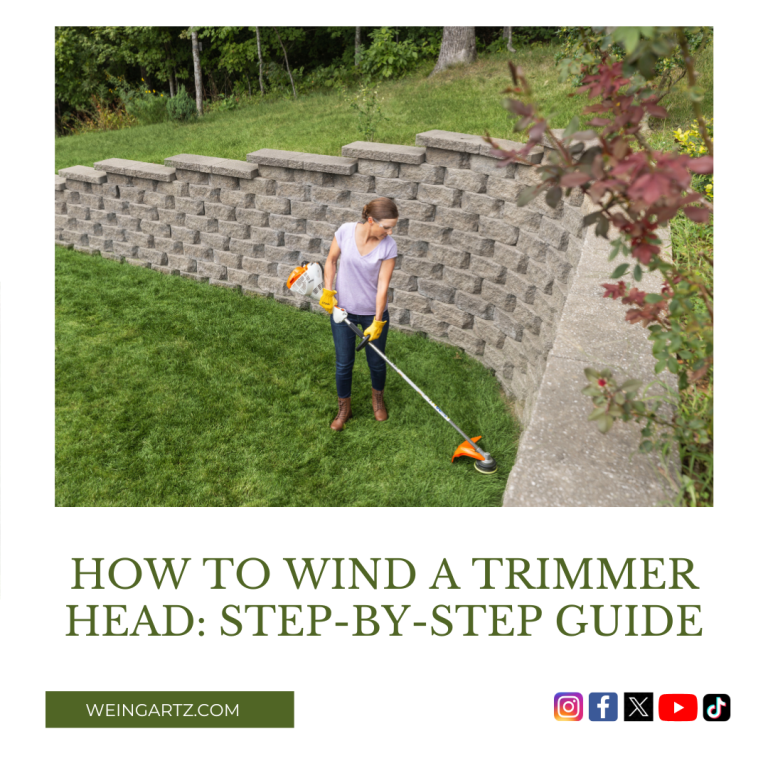
Traditional bump-head trimmers are a great tool to use on your lawn. Trimmers feed plastic string out the cutting head to trim tall grass, weeds and more. Trimmers keep your yard looking sharp without the use of blades. To use these machines, just bump the cutting head against the ground while it’s spinning to release trimmer line. When you run out of trimmer line, use our experts’ instructions to learn how to quickly replace trimmer line in your bump-head trimmer.
Before performing any maintenance on your trimmer, refer to your owner’s manual for maintenance instructions and safety information. Maintenance instructions vary by model, so depending on your trimmer model our instructions may vary slightly.
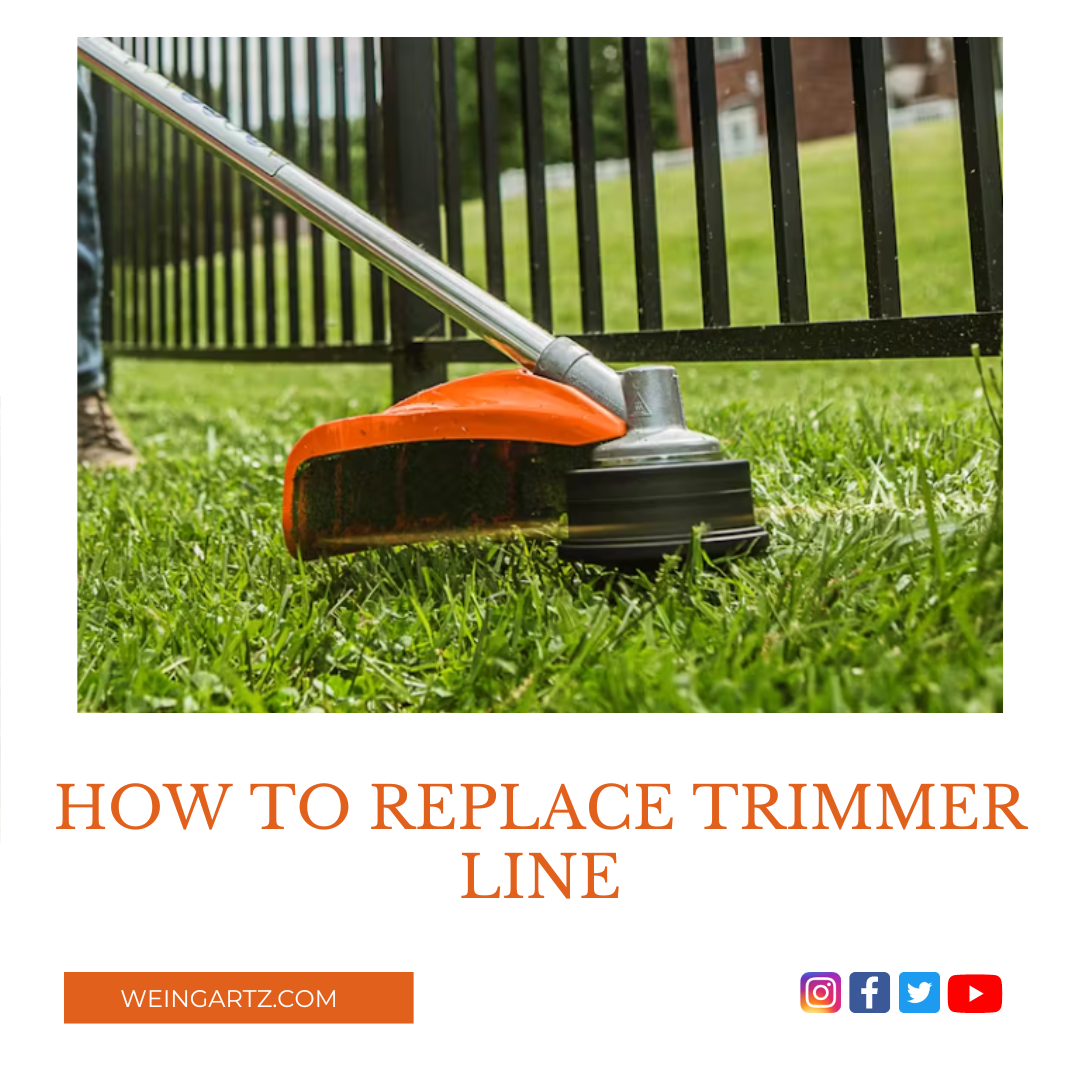
Traditional bump-heads have a round black cutting head with a one and a half inch spring-loaded knob in the center – that’s the bump knob. Installing new trimmer line requires you to disassemble the cutting head. First, cut 10 to 15 feet of line to install, 18 feet tops. Check your owner’s manual to see what kind of trimmer line to use for your bump-head trimmer.
Disassemble the cutting head. Depending on the type of trimmer head you have, either unscrew the bump knob or push in the tabs on the side of the cutting head to remove the cap. Then remove the inner line holder and spring. Set aside the spring.
Find the two holes on the top of the inner reel and insert one end of each length of trimmer line into one of the holes. Pull the line through until two to three inches of trimmer line remain, then loop the short ends of the trimmer line into the other hole. Pull the long end of the string to close the loop.
Following the direction of the arrow on top of the line holder, wind the trimmer line around the spool. When 6 inches of string remain, push the ends of each string into the holding slots marked .095. Place the spring back on the shaft and locate the eyelets on the spool head. Feed the trimmer line through.
Place the wheel back onto the shaft, and align the holding slots on the reel with the eyelets on the cutter head. Hold down the reel to compress the spring. Reassemble the cutting head. Screw the bump knob back on the head or place the cover back on the trimmer head making sure the tabs line up with the tab release holes and press down until you hear it snap into place on both sides.
Firmly pull both ends of the trimmer line to make sure they’re released from the holding slots.
You May Also Enjoy These Articles:
How to Wind Your Stihl Trimmer Head
How to Maintain the Perfect Lawn
Essential Equipment for Lawn Maintenance
Essential Equipment for Lawn Maintenance
Why Weingartz?
Weingartz, family owned and operated, began in 1945 as a farm supply store for local Michigan families. In the 1970s, we began to focus exclusively on outdoor power equipment. Over time, we morphed into the “power equipment superstore” that now defines all of our locations. The staff and experts at Weingartz work diligently to provide the best service possible and give honest and helpful advice to each and every customer.
Weingartz also sells parts for all outdoor power equipment at https://weingartz.com/parts-lookup.
46061 Van Dyke Ave.
Utica, MI 48317
(586) 731-7240
info@weingartz.com
Connect With Us!
https://www.facebook.com/WeingartzLawnToSnow
http://pinterest.com/MrWeingartz
Sign up for our electronic monthly newsletter for discounts and money-saving tips.