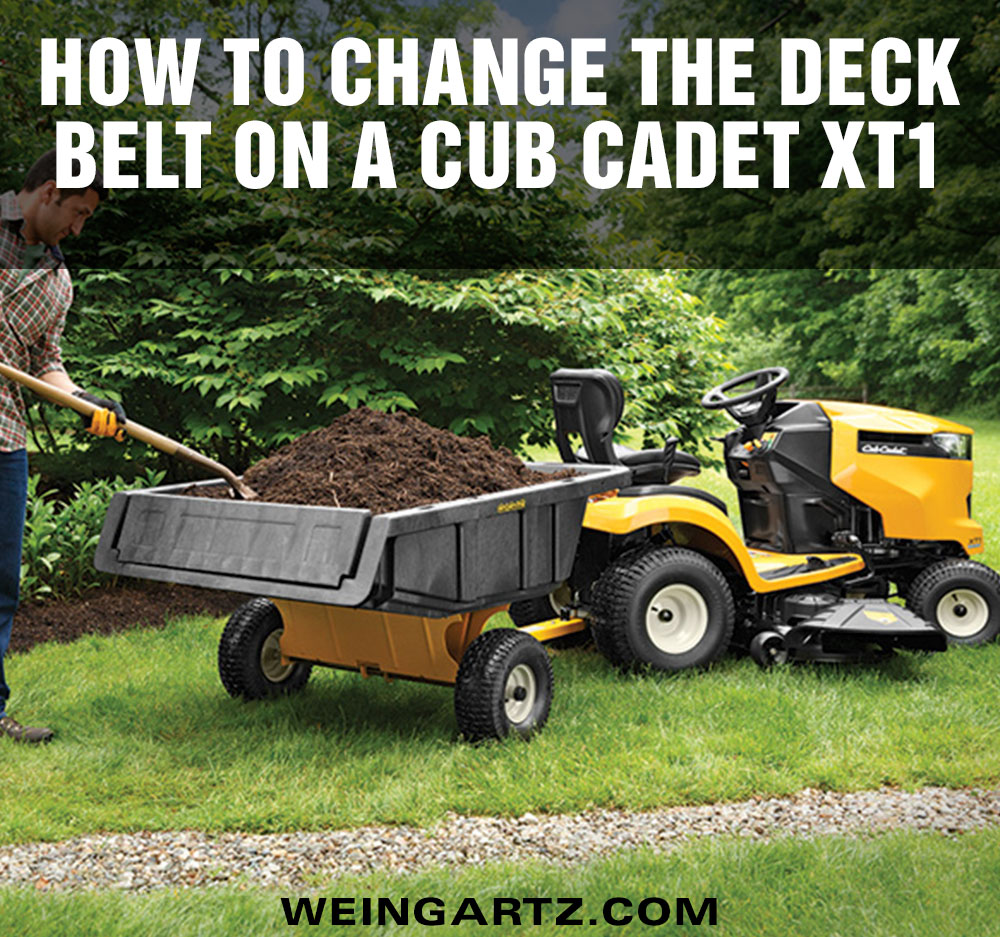
A Weingartz expert demonstrates how to change the deck belt on a Cub Cadet XT1 Tractor.
Before performing any maintenance on your Cub Cadet XT1, refer to your owner’s manual for recommended maintenance and safety information. Maintenance instructions vary by model, so depending on your tractor model our instructions may vary slightly. Check your owner’s manual to get instructions specific to your model.
Parking your Cub Cadet on a flat, level surface. Turn the engine off and allow it to cool. Remove the ignition key, and disconnect the spark plug ignition wire to prevent accidental starting.
To change the deck belt on a Cub Cadet XT1 with a 42-inch stamped steel deck, begin by removing the deck from the mower.
There is an 8-millimeter bolt right in the side of the frame. Pull that out, that takes care of your belt guard that goes around the engine pulley. Once you pull that out, there are 3 cotter pins, one at the front of the deck and then you have one on each side of the rear of the deck for the left arms.
This model has a manual engagement not the electronic engagement. The manual engagement has a cable that runs to the back of the deck and is held on by another cotter pin. Once you pull that pin, pull the cable, and take the spring off the deck bracket. Remove the bolts and pins and remove the deck bracket.
A little tip – make sure to keep in mind where the deck bracket pulls out of the frame. When it’s time to reinstall, the bracket has to go in the same spot, so it doesn’t hit the engine pulley when you put it back on.
With the little butterfly clips, you can just gently pull them out. Some are kind of tough so you may have to take a pair of needle nose pliers to help with these but otherwise just pull them down and pull them out.
Now with the three butterfly clips out, remove the front bracket, remove the bracket on the rear of the deck, and if you want you can lift the deck up all the way to get the arms out of the way. Remove the deck belt off the engine pulley on the front. Pull the deck out so you can access the clip. The clip goes through the cable on the front of the PTO.
When pulling the PTO cable out you’ll notice once you get the cable out there’s a little notch. Pull the cable out away from the deck and then you’ll be able to slide the cable right out the little notch on the side. That takes the PTO cable off, the end of the cable is just a spring that connects into the bracket that holds the idler pulley.
Now you can slide the deck out and place it on the ground to continue working. Take the belt covers off the deck, you’ll need the 8-millimeter socket again. Once the two covers are off, take off one of the idler pulleys to access the belt past the belt guide. You’ll need a 14-millimeter socket.
There is a nut on the bottom side. Use a 14-millimeter wrench and hold the nut on the bottom side just so you can get the pulley loose. Then replace the deck belt.
If you ever need the deck belt directions, they are inside your owner’s manual. With this model, the belt goes from spindle to spindle on the back and then loop it around the spindle and on the back side of the idler pulley, and around to the front. Make sure you get the belt inside the belt guides.
Tighten down both the idler pulleys and put the covers back on. Once the covers are installed, put the deck back on the tractor. Put the PTO Engagement spring back on the deck idler arm. Push the arm out, push the spring through, and put the cable back in the deck holder. Once the cable is back in, put the clip back in.
Once the cable is reattached, put the belt back on the front of the deck and reattach the belt guide. Keep the belt in place while you hook up the rest of the deck. To reinstall the deck, attach the rear arms first, attach it to the shell that comes out of the deck shell. It’s going to go through the hole in the bracket. Put the clip back on and attach the other side of the deck.
Make sure the belt stayed around the engine pulley and reattach the arm in the front. Lift the deck up, make sure all our bolts are tight, hardware’s tight, and test.
Use our illustrated parts diagrams to locate any replacement parts you may need for maintenance for your Cub Cadet XT1 tractor.
You May Also Enjoy These Articles:
Buyer’s Guide to Cub Cadet XT1 and XT2 Lawn Tractors
Buyer’s Guide to Cub Cadet XT3 Garden Tractors
Buyer’s Guide to Cub Cadet Ultima Series Zero Turn Riders
Choosing the Best Riding Mower for Your Lawn
How to Level a Riding Lawn Mower Deck
How to Change the Deck Belt on a Riding Lawn Mower
Engine Maintenance Tips for Zero Turn Riders
Why Weingartz?
Weingartz, family owned and operated, began in 1945 as a farm supply store for local Michigan families. In the 1970s, we began to focus exclusively on outdoor power equipment. Over time, we morphed into the “power equipment superstore” that now defines all of our locations. The staff and experts at Weingartz work diligently to provide the best service possible and give honest and helpful advice to each and every customer.
Weingartz also sells parts for all outdoor power equipment at https://weingartz.com/parts-lookup.
Weingartz
5436 Jackson Rd.
Ann Arbor, MI 48103
(734) 239-8200
info@weingartz.com
Connect With Us!
https://www.facebook.com/WeingartzLawnToSnow
http://pinterest.com/MrWeingartz
Sign up for our electronic monthly newsletter for discounts and money-saving tips.