


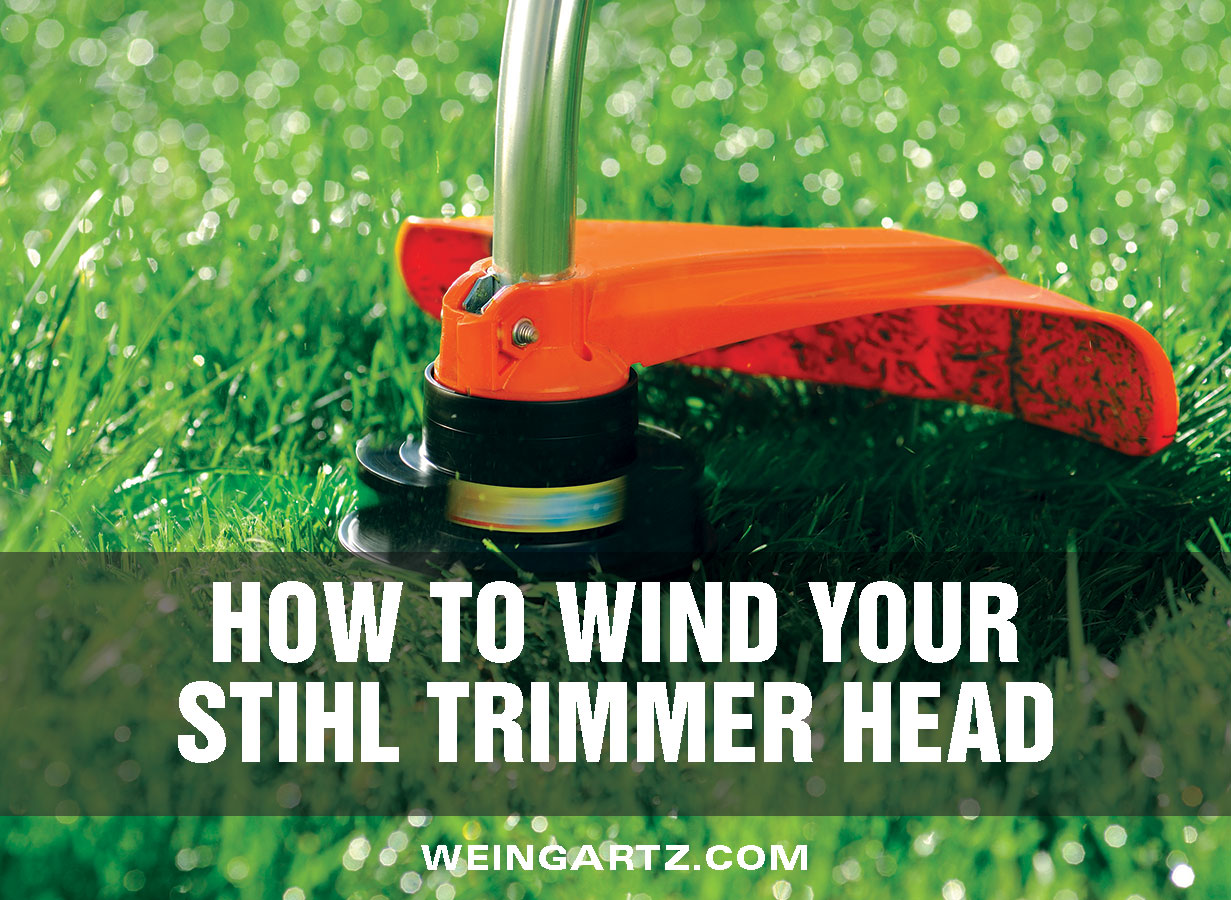
Stihl trimmers are almost as essential as a mower when it comes to maintaining a well-groomed lawn. Trimmers tame straggling grass around your yard and aid in hard-to-reach areas. When using any outdoor power equipment one thing is certain – you will need to perform maintenance and repairs over time. Your trimmer is no exception so read on to learn how to wind your Stihl trimmer head and keep it performing like new.
Before you begin any maintenance or repair work on your Stihl trimmer head, make sure it is completely powered off, cooled down, and cleaned of dirt and debris.
Here are Stihl’s most popular trimmer heads and how to wind them.
TrimCut or AutoCut Trimmer Head
On the TrimCut, unscrew the star nut on the trimmer head. Once the nut is loose, remove it and the spool from the spool housing.
On the AutoCut, open the trimmer head by pressing the recesses and removing the cover. Remove the spool from the spool housing.
Don’t lose the spring that is in the center of the spool. Once the spool has been removed on the TrimCut or AutoCut trimmer head, feel free to remove any dirt or debris that accumulated in the trimmer head. After this, you can reload your trimmer head.
To reload the trimmer head, determine the correct diameter of trimmer line you will need and the length of line you will need to wind your trimmer head. To get the length of trimmer line you need, measure it and cut the desired length.
Wind your spool. On the top of the spool, there are two or more notches that hold the line in place. On the spool you will see the spool is split and the line retaining holes. On the bottom of the spool, the correct winding direction for the line is indicated. Take one line and wind the half of the spool that is closest to the notches first.
Insert the line as far into the retaining hole as you can, then wind the line around the spool, not crossing over into the other half. When you have about 5 inches of unwound line, insert the line into a notch in the spool. Insert the second length of line into the opposite side of the spool in the unwound half and in the retaining hole that is 180 degrees opposite the first line you wound.
Repeat the winding process and insert the second trimmer line into the opposite notch. Place the spool into the spool housing with the notches located just to the side of the eyelets. Press down on the spool and rotate it slightly until the notches and eyelets match up.
On the TrimCut trimmer head, feed the trimmer line through the eyelets in the spool housing, and lower the spool into the housing. Pull on both ends of the line to release the lines from the notches and reinstall the star nut.
On the AutoCut trimmer head, pull the trimmer line out of the notches and feed them through the eyelets. Place the cover on the trimmer head making sure the tabs line up with the tab release holes and press down until you hear it snap into place on both sides. Pull on the line to make sure all the slack has been taken up.
AutoCut EasySpool Trimmer Head
You don’t have to open up the trimmer head on the EasySpool to wind it. If you want to clean the inside of the trimmer head, loosen the cap and lift the spool out of the spool housing. To reload this trimmer head, make sure the arrows in the spool housing and the spool are aligned. Firmly insert the end of the trimmer line into the eyelet as far as you can. Repeat the same process on the opposite side of the trimmer head. Pay attention to the winding direction arrows on the top of the spool. Turn the spool in the proper direction, and this will automatically wind the line onto the spool.
FixCut Trimmer Head
Take an 8-inch long piece of trimmer line and feed it through the eyelet until you see it on the inside. Insert the same length of line into the second eyelet. Pull both ends of the lines to make sure they are secure.
After you reload your Stihl trimmer head, the trimmer line should be the same length on both sides and never longer than the line limited distance located on the trimmer’s guard. If one line is longer than the other, or if the line is longer than the line limited distance, cut the line as necessary.
You May Also Enjoy These Articles:
How to Maintain the Perfect Lawn
Essential Equipment for Lawn Maintenance
5 Lawn Mower Tune Up Tips for Spring
Why Weingartz?
Weingartz, family owned and operated, began in 1945 as a farm supply store for local Michigan families. In the 1970s, we began to focus exclusively on outdoor power equipment. Over time, we morphed into the “power equipment superstore” that now defines all of our locations. The staff and experts at Weingartz work diligently to provide the best service possible and give honest and helpful advice to each and every customer.
Weingartz also sells parts for all outdoor power equipment at https://weingartz.com/parts-lookup.
46061 Van Dyke Ave.
Utica, MI 48317
(586) 731-7240
info@weingartz.com
Connect With Us!
https://www.facebook.com/WeingartzLawnToSnow
http://pinterest.com/MrWeingartz
Learn More About The Stihl Brand


Sign up for our electronic monthly newsletter for discounts and money-saving tips.